Who would’ve thought you need to download a third-party Cyberpunk 2077 optimization mod to actually play the game with more ease Ever since its most anticipated release, Cyberpunk 2077 failed in various ways to deliver and keep up its name. It had so much potential but its botched release and optimization caused its heavy damage. Cyberpunk 2077 has still a huge path to clear to become the product it once assured it to be.
But it’s not all bad, there are plenty of mods that came out for the game which can be enjoyed in many senses. Some of these mods either let you play the game in third-person, increases the graphic details, makes the game turn into a complete disaster from its already buggy state or may optimize it for more accessibility.
You see, Cyberpunk 2077 is notorious for its insanely poor performance on both high and low-end hardware. This was one of the reasons that had resulted in the game with angry reviews, a bunch of refunds and lawsuits. But wait, don’t get your refund this soon! There might be a cheeky way to improve Cyberpunk 2077 ‘s optimization on your PC.
What is Cyberpunk 2077 Heavily Customized Optimization Mod?
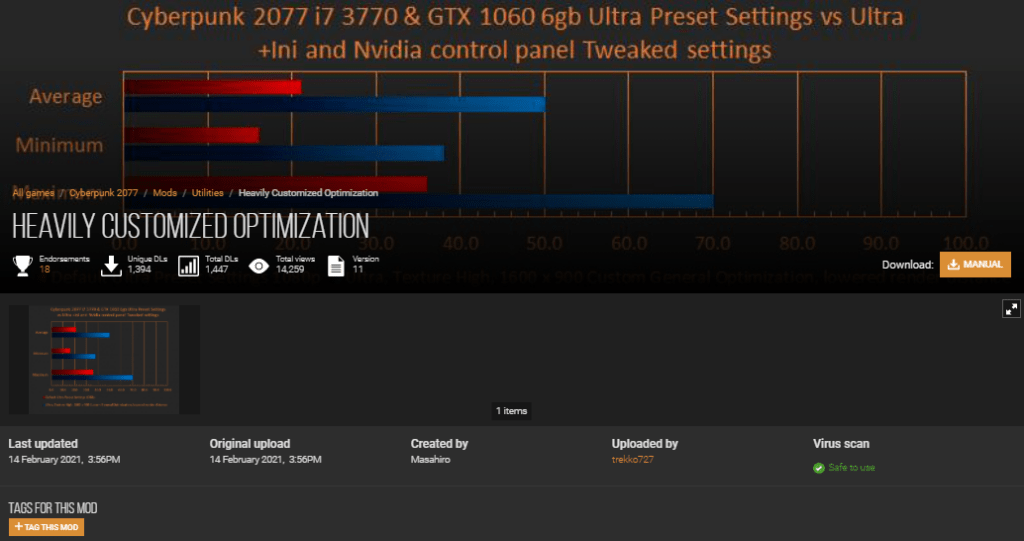
Last month, an .ini file called ‘Cyberpunk 2077 General Optimization tweaks‘ was released. This made some significant optimization for the game’s overall performance and fixed various select features that were not properly functioning. This new Heavily Customized Optimization Mod is based on that with some more tricks up its sleeves.
This mod drastically lowers the rendering distance which gives your CPU some room to function without being buried with the load. It also has some more general tweaks that, in combination, increase the performance of the game on many mid-end and dated systems.
How to download & Install this mod?
You can download this mod directly from Nexus Mods. Masahiro created this mod, and it is intended to lower the load on old CPUs to give you the best performance and FPS.

To install the file, just place the .ini file in the game directory (…Cyberpunk 2077\engine\config\platform\pc) and start the game to notice the changes for yourselves.
Note: This mod works in conjunction with a custom config file called Config Overhaul for Cyberpunk 2077 by derplayer123. Install this in the root directory of the game (for example, with the steam version users needs to copy and paste it here; C:\Program Files (x86)\Steam\steamapps\common\Cyberpunk 2077\). Open the application and select ‘Optimized’ and close it.
Nvidia Users
If you are an Nvidia GPU user, be sure to open Nvidia Control panel> Manage 3D settings> Program settings> select cyberpunk2077.exe and redlauncher.exe from there. And use these settings and tweaks for the best performance;
- Set Antialiasing Mode – Enhance the application setting
- Anti Aliasing – 4x
- Antialiasing Transparency – Multisample
- CUDA GPUs – and select the option “Use these GPUs”
- Multi-Frame Sampled AA (MFAA) – On
- Shader Cache – On
- Texture filtering
- Anisotropic sample optimization- On
- Negative LOD bias – Allow
- Quality – High performance
- Trilinear optimization – On
- Threaded optimization – On

After making these changes hit ‘Apply’ to save the changes and you will be set to go! Be sure to follow us for the latest gaming guides, tips & tricks, news and more.


